When a hard drive or SSD fails, most users panic — thinking their files are gone forever. But with professional data recovery, even severely damaged drives can often be restored. At SSD.Repair, we use specialized tools, advanced cleanroom environments, and precise techniques to bring data back safely. Understanding how this process works can help you make the right decision if disaster strikes.
Step 1: Initial Drive Evaluation
The recovery process begins with a complete evaluation. Technicians inspect the drive to determine whether the failure is physical, logical, or firmware-related. Physical issues include head crashes or burnt circuits; logical issues involve corrupted partitions or deleted files; and firmware issues affect how the drive communicates with your computer. The diagnosis helps identify the best recovery strategy and tools to use.
Step 2: Cleanroom Disassembly
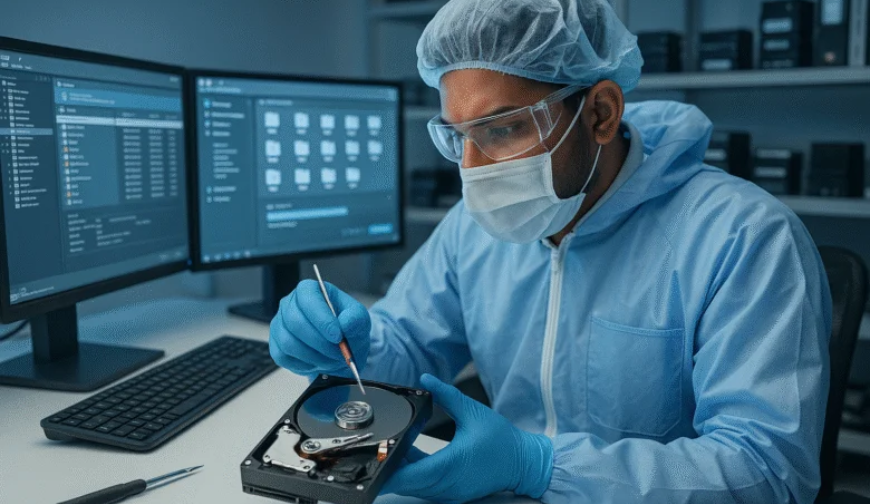
If the drive has physical damage, it’s taken to a certified cleanroom — a dust-free environment that prevents microscopic particles from contaminating the platters or chips. Here, technicians carefully open the drive using antistatic tools and protective equipment. Even a single speck of dust can destroy data surfaces, so this controlled environment is crucial for successful recovery.
Step 3: Component Repair or Replacement
In this step, the faulty parts are repaired or replaced. For hard drives, this may include swapping damaged heads, platters, or PCBs. For SSDs, it could involve repairing the controller chip or power circuit. Every operation is done under magnification to ensure precision and prevent further damage.
Step 4: Data Imaging
Once the drive is stable, a sector-by-sector clone (known as an image) of the device is created. This ensures that recovery attempts are made on a safe copy of the drive, not the original. The imaging process can take hours or even days, depending on drive size and condition. Creating an exact replica helps prevent additional wear on the damaged drive and keeps data secure during the next steps.
Step 5: Logical Data Recovery
After imaging, engineers begin logical recovery — rebuilding file systems, correcting corrupted sectors, and extracting files. Specialized software is used to reconstruct directories, retrieve deleted data, and verify file integrity. This phase requires expert knowledge of file systems such as NTFS, APFS, HFS+, exFAT, and EXT4, depending on the device and operating system.
Step 6: Data Verification and Quality Check
Recovered data is checked for accuracy and completeness. Files are opened, tested, and compared with file structures to ensure integrity. Any corrupted or unreadable files are reprocessed if possible. Once verified, the recovered data is transferred to a secure storage medium like a new SSD, HDD, or encrypted cloud system.
Step 7: Secure Delivery to the Client
After successful recovery, the data is securely delivered to the client. At SSD.Repair, we prioritize confidentiality and data protection throughout the process. Clients receive detailed reports outlining the cause of failure, the steps taken, and recommendations for future data safety.
Why Choose Professional Recovery?
Attempting DIY recovery with online tools or opening a drive at home often causes irreversible damage. Only certified cleanroom experts have the proper equipment and knowledge to handle modern drives, especially SSDs with encrypted controllers or advanced NAND architectures. Professional recovery not only maximizes the chance of success but also ensures your data remains private and protected.
Final Thoughts
Professional data recovery is a blend of science, precision, and experience. Whether you’re dealing with a failed SSD, corrupted hard drive, or RAID crash, every case follows a careful process designed to preserve your data. At SSD.Repair, our cleanroom engineers work tirelessly to recover lost information safely — because we understand that your data isn’t just numbers, it’s your business, your memories, and your peace of mind.